Why are my cuts coming out so jagged!? Why don't these snips cut a radius well? Why do all of my long cuts A.) Take so long and B.) Have all these little notches every inch or so?
You may or may not have asked yourself these questions or many others while hacking through a piece of tin.
I've had all these frustrations over the course of my career and some of those issues come down to experience cutting with any kind of tin snip by hand. However, another answer could be that you may be using the wrong snips for the job. One size does not fit all when it comes to sheet metal cutting tools.
The one tool that I would have gold plated and mounted on the wall of my office is a pair of Straight Tin Snips. They are on the front of our company T-Shirts and will forever be a building block of any micro tin shop.
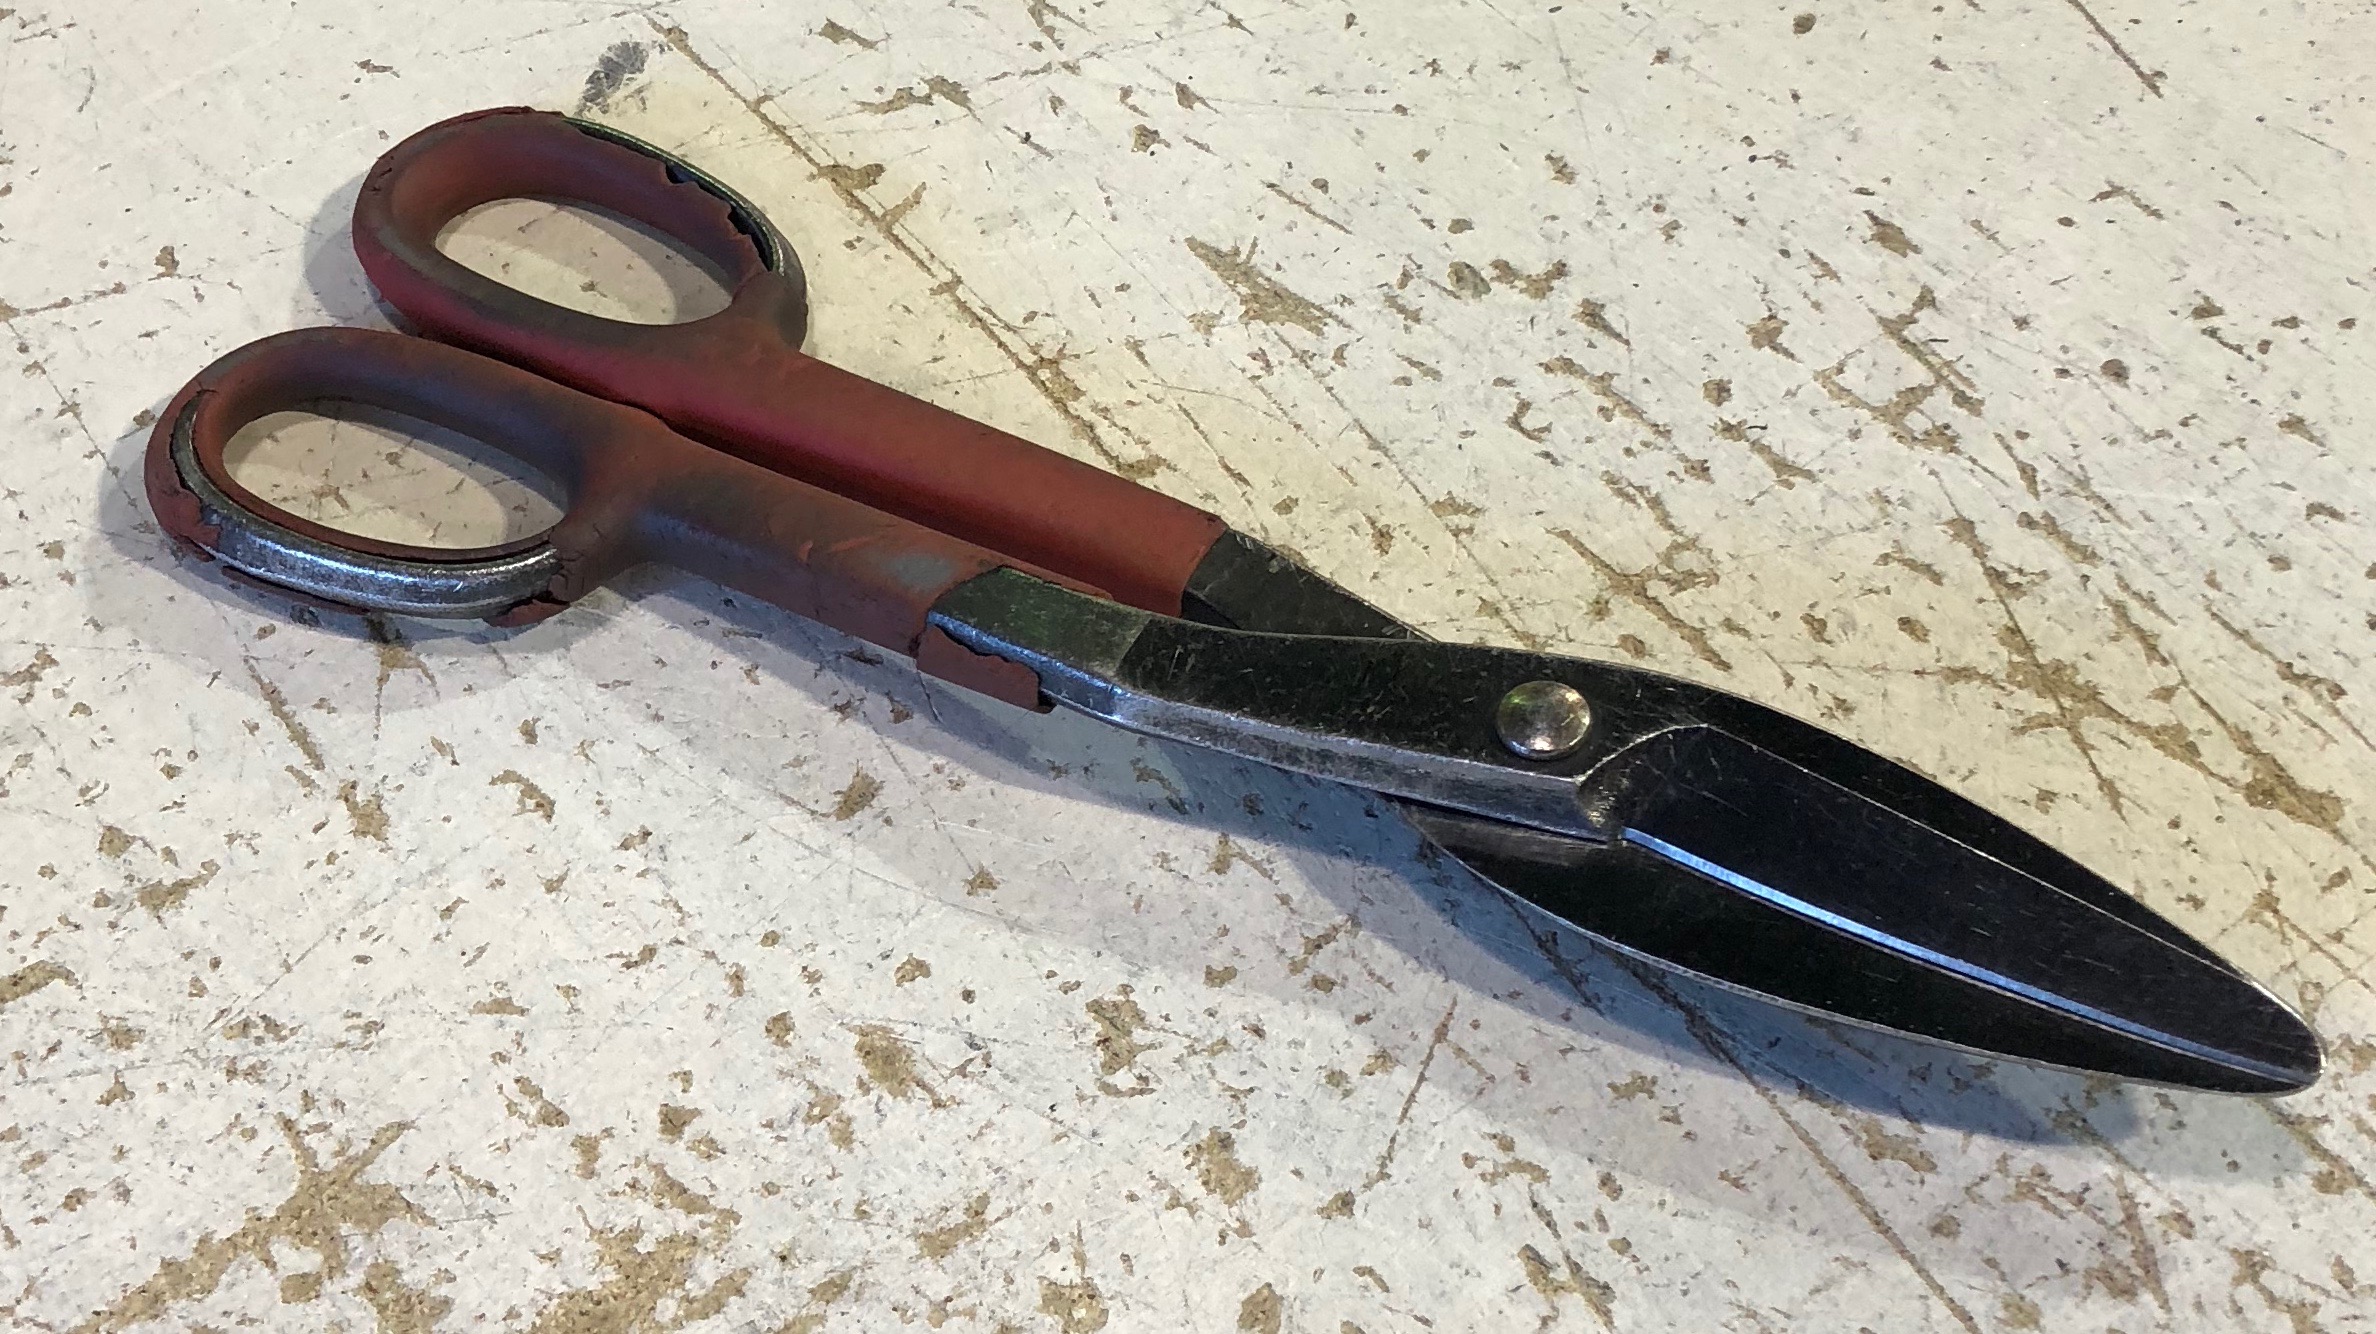
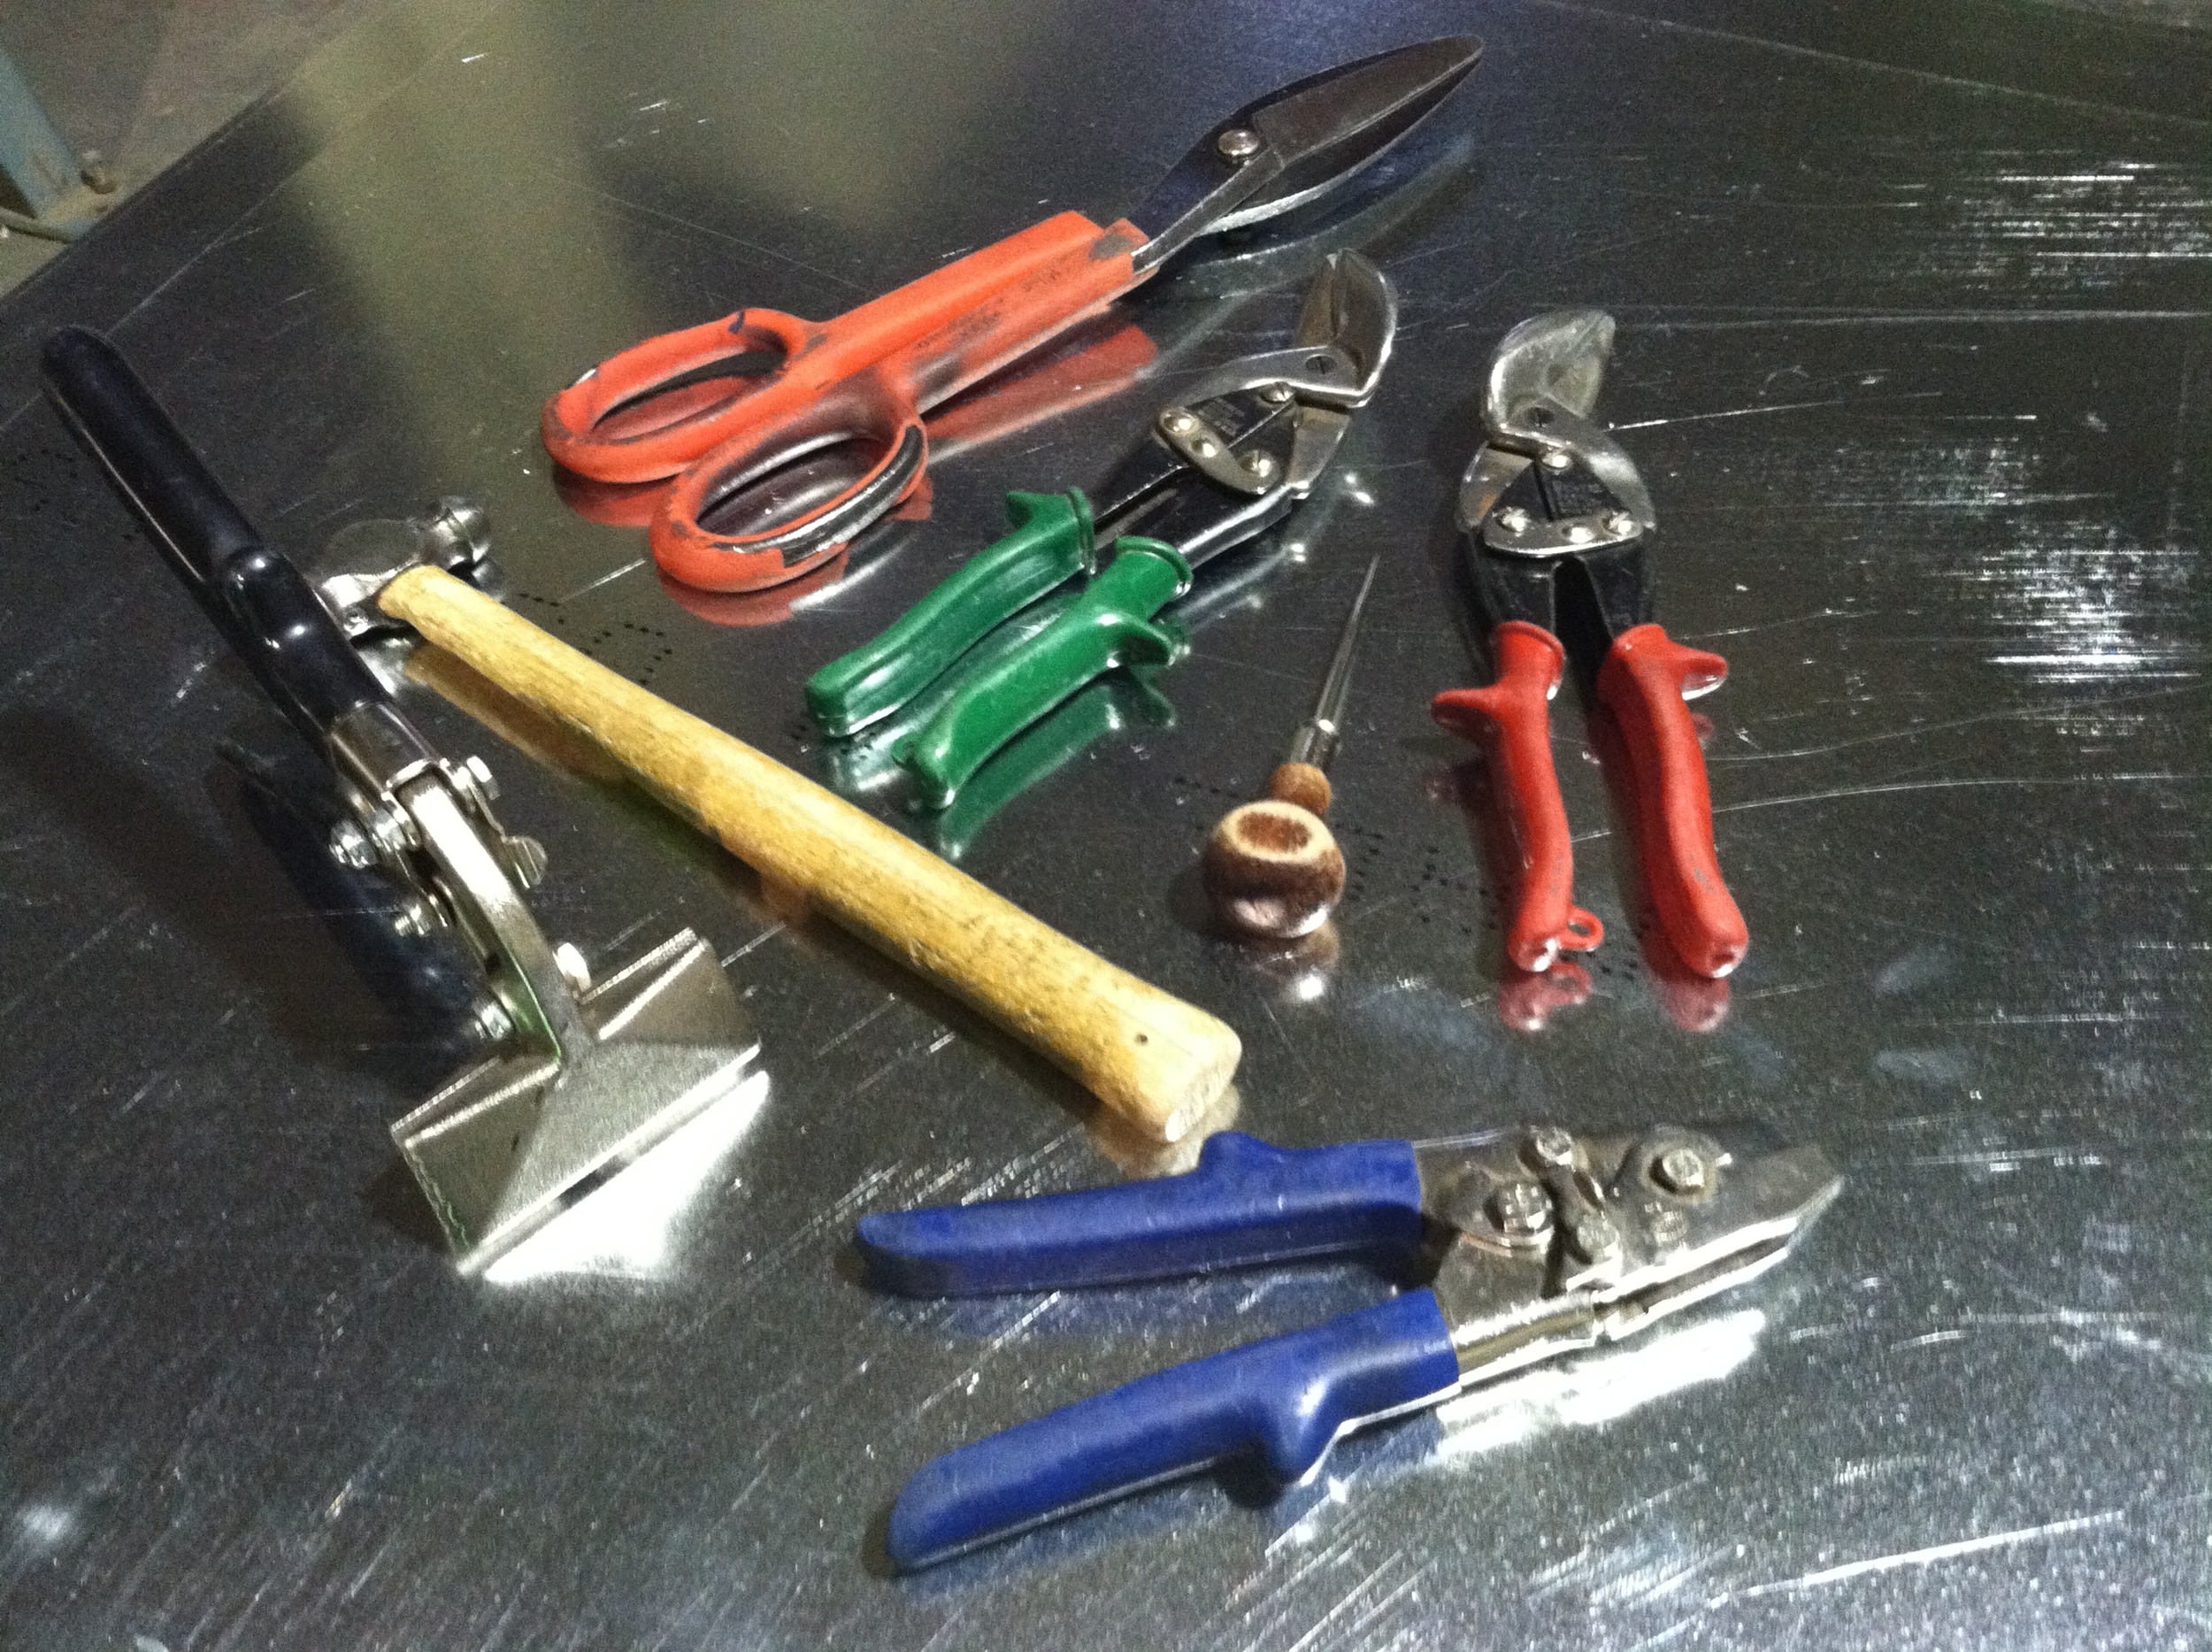
Straight Tin Snips I use daily
Known as Lather Snips to some, I have always labeled them as straight cut tin snips or shears. I have spent over 15 years of my working life cutting straight duct, plenums and fittings by hand with these and other kinds of tin snips. However, these were by far the Labron James of snips in my Tin Knockers tool bag and on the sheet metal fabrication table.
The manufacturer will tell you wide curves can also be cut, and to a point, you can with the Straight Cut. However, I would argue that the longer handle Bulldog Pattern Snips provide an easier cut when dealing with radius shearing. The Bulldogs are for "nibbling" heavier gauge and they do a great job in that forum. But they do a much better job than the straight cut snips when you have to cut a 40" flat elbow cheek and especially when cutting smaller radius lines by hand. Bulldogs saved me a lot of frustration on those days when fittings prioirized the schedule.
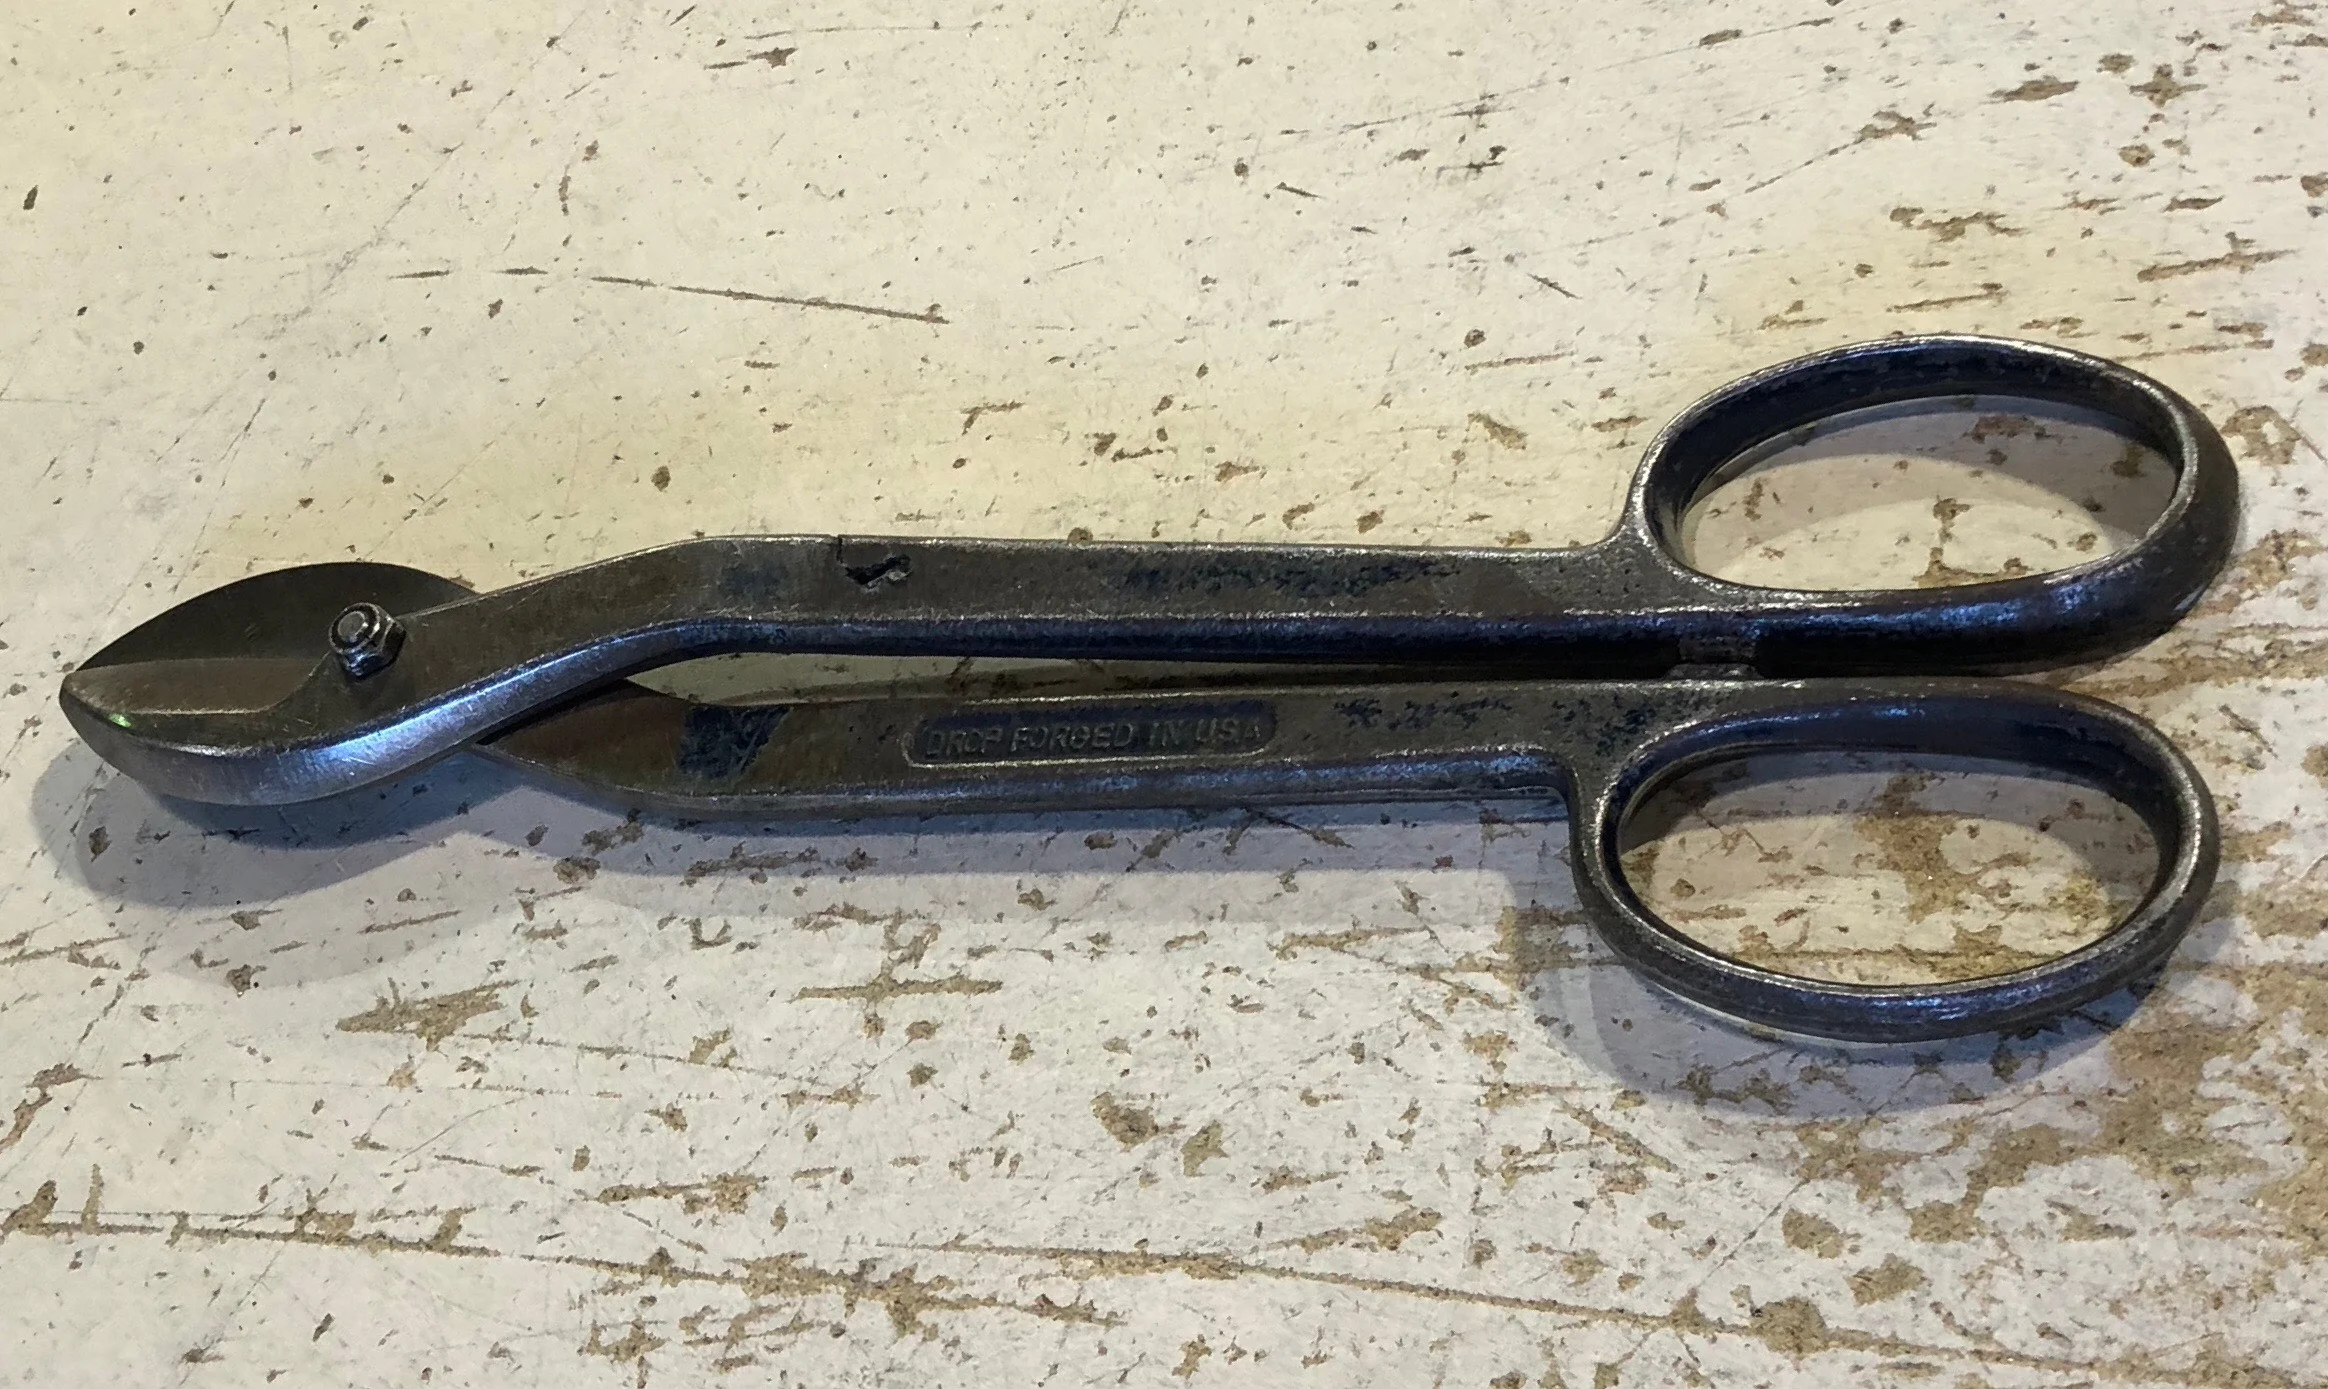
Bulldog Tin Snips We Use Each Day
The straight cut snips hang up too much as you make your way through the radius. They can't make the corner nice, especially on those tighter curves. Think of a good handling car versus a bad one. Both vehicles can make the turn. However, you can feel the difference if you've driven the car that really handles well in the corner. It can make all the difference when time is of the essence.
Having both pairs of snips at your disposal can only help your fabrication prowess.
Every sheet metal worker, roofer or HVAC technician will have a pair of Straight Tin Shears at the ready. They are tried and true; the backbone of a Tin Knockers tool bag. I would bet many of them carry a pair of Bulldogs as well.
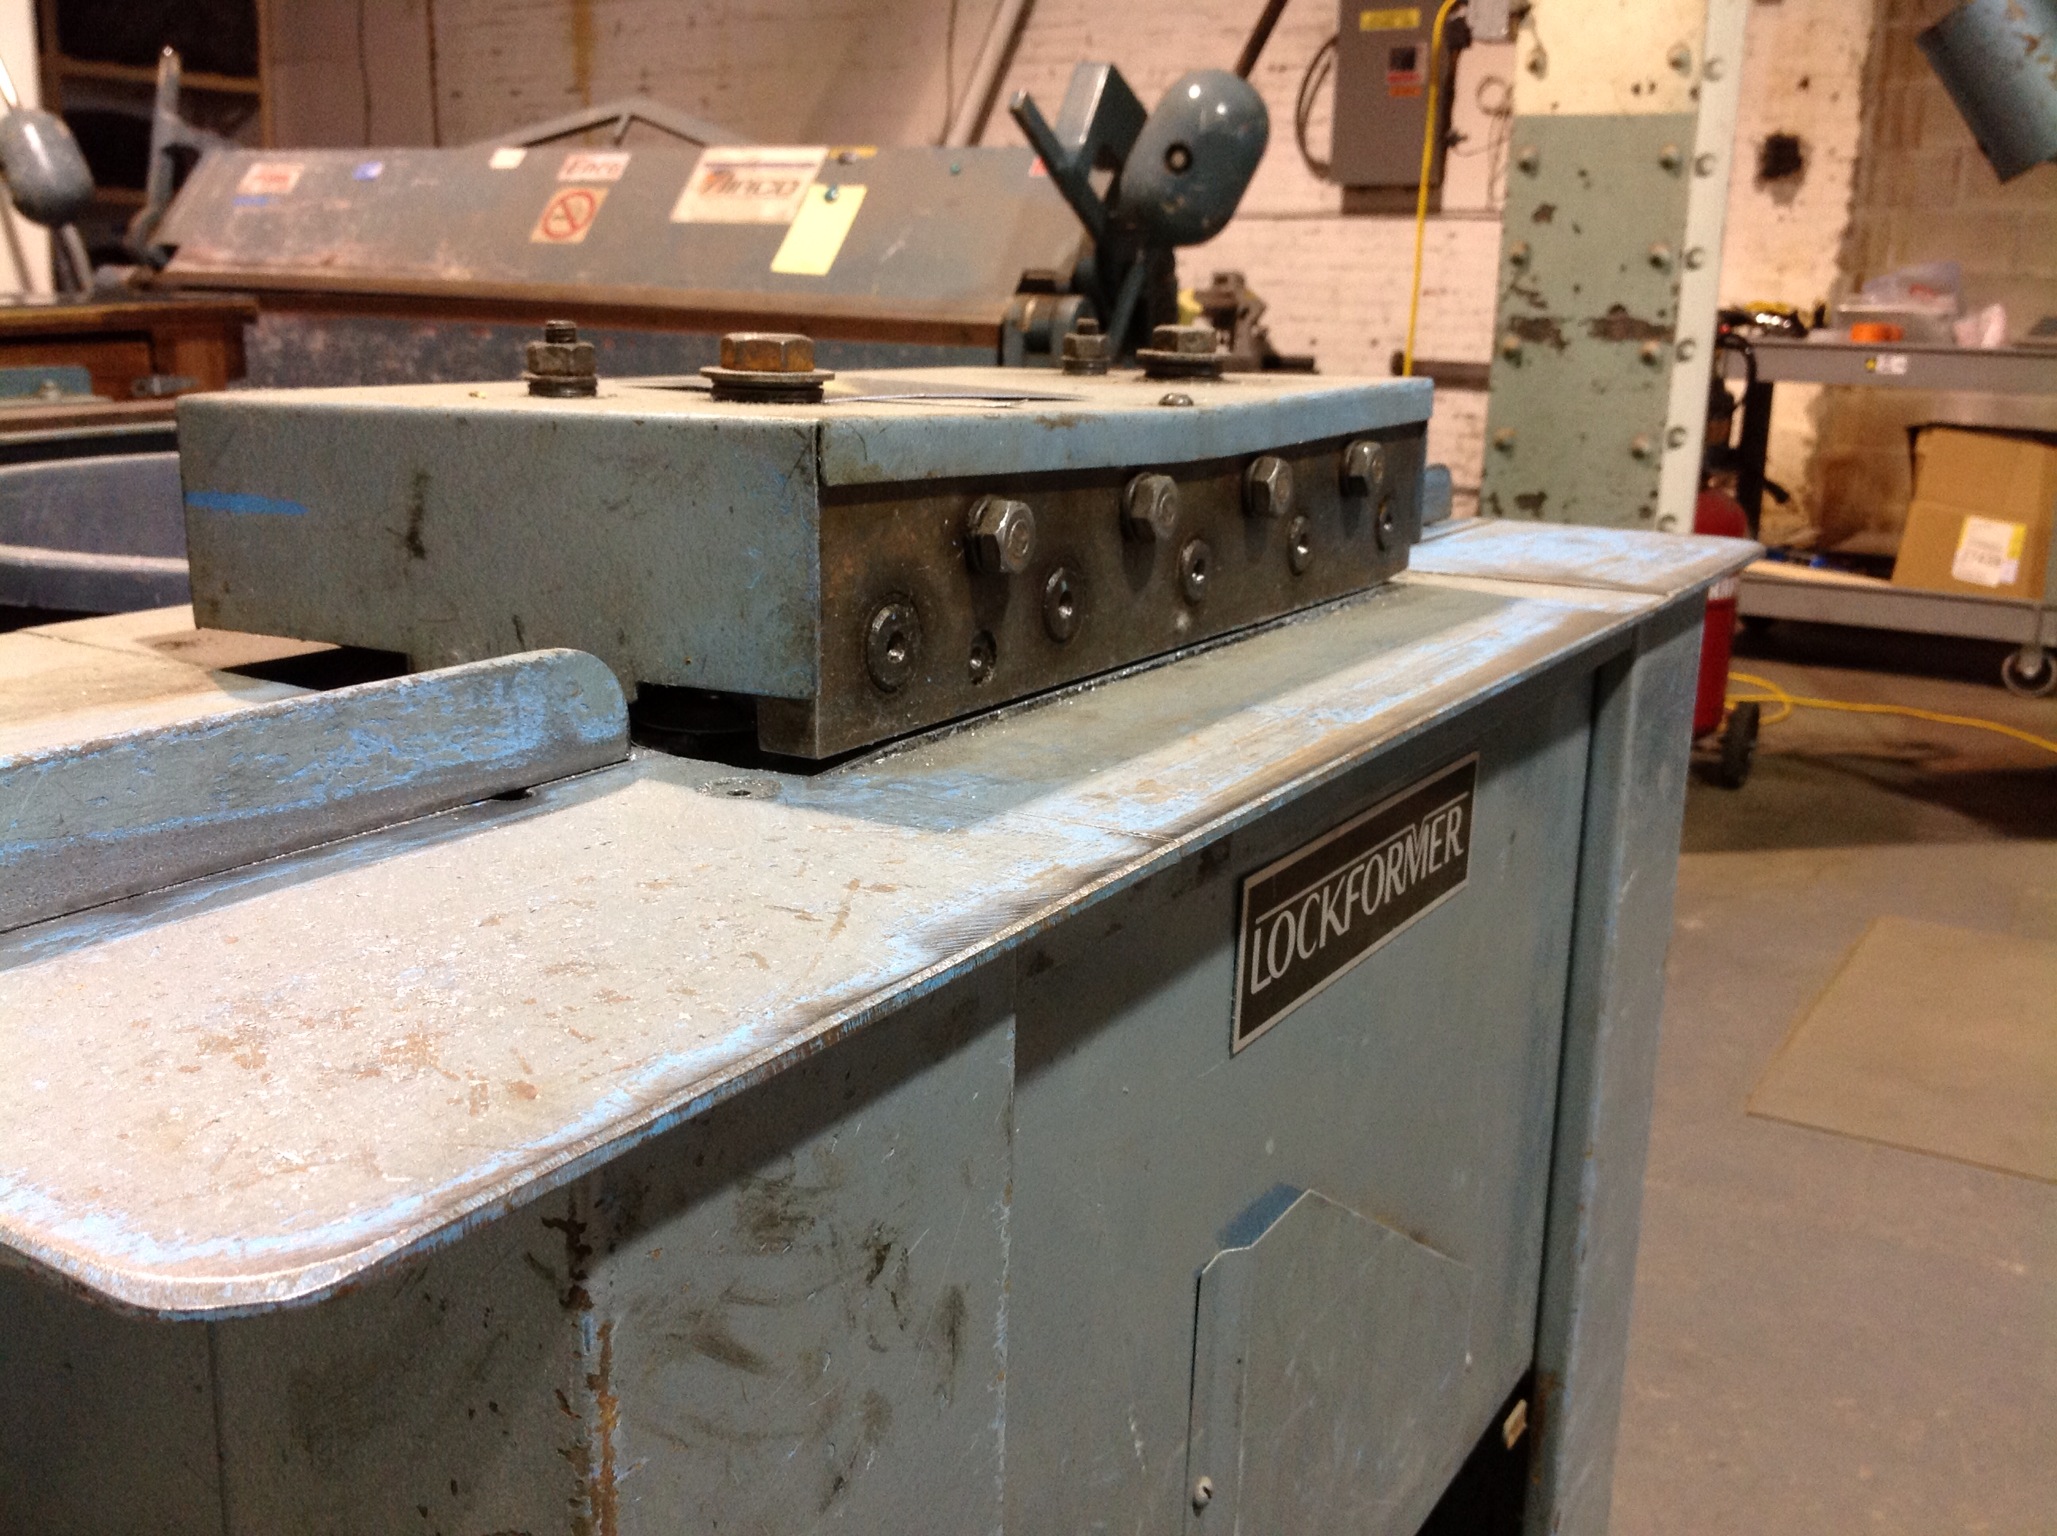
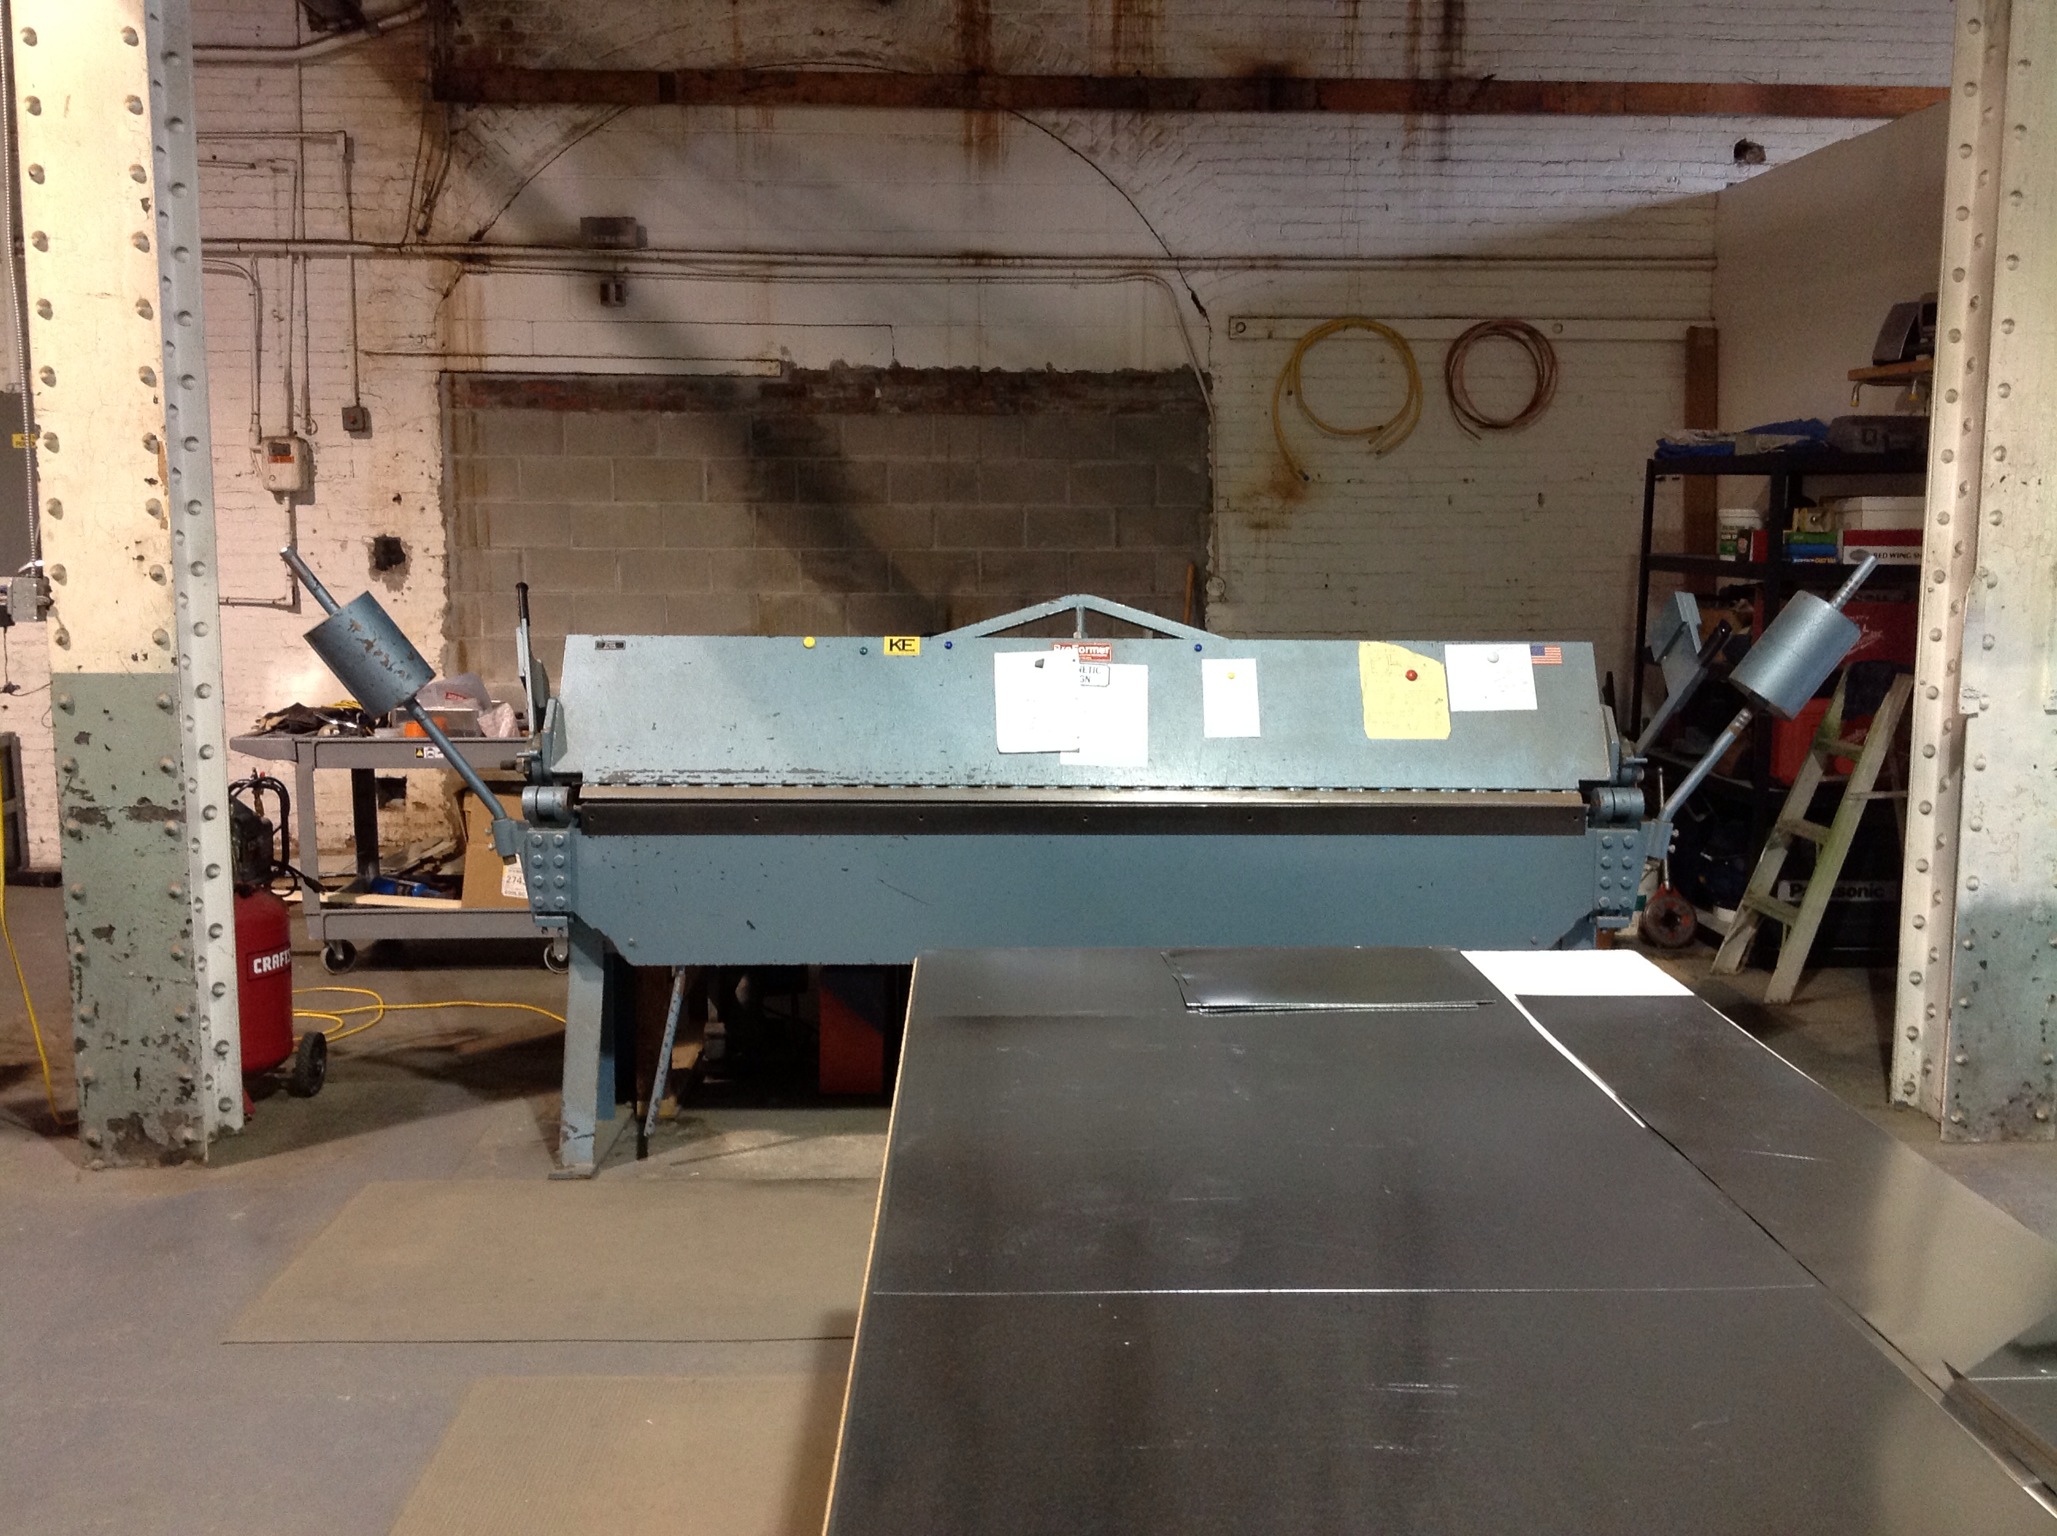
Today at K & E Sheet Metal they have taken a back seat to the CNC plasma table and pneumatic jump shear, but they still hold tremendous value in our shop on a daily basis. They were the tools that built this company to where we could afford the plasma table and jump shear.
If you're working in the field and you don't have a pair in your tool bag, do yourself a favor. And if your're starting a small fabrication shop, they are a must. Those aviator snips you may have picked up at the local Home Depot are immensely important when it comes to sheet metal cutting tools, but they will soak up your time and forearm strength in seconds.
The Straight Cut Tin Snips and Bulldog Pattern Snips will help take care of that problem and keep your cuts straight and true.
Happy Cutting!